Are you tired of doors that swing open and take up your valuable floor space? Learning how to add pocket doors is a fantastic way to open up your home. These doors slide right into the wall, giving you more room for furniture and decor. Whether you have a tiny bathroom or a cozy office, this project makes any space feel larger. It is a smart, stylish way to upgrade your house. You will love how much extra space you gain once your door tucks away neatly. Let’s look at how to get this done.
Why Choose a Pocket Door for Your Home?
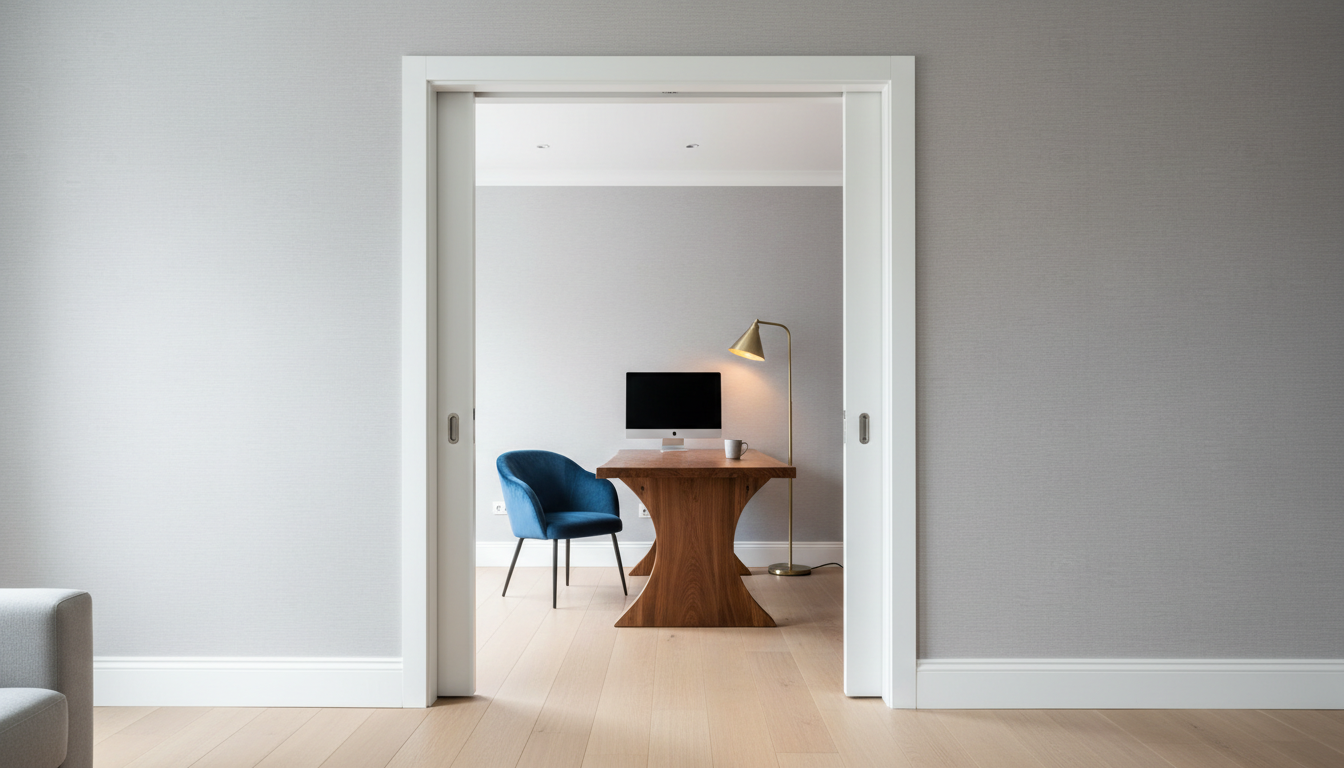
The biggest reason to learn how to add pocket doors is space. A normal door needs a wide arc to swing open. That means you cannot put furniture, plants, or pictures in that area. With a pocket door, that space is suddenly free! These doors are perfect for laundry rooms, small closets, or tight hallways. They look modern and keep your home feeling open and airy. Many people also love how clean and tidy a room looks when the door disappears into the wall. It is a simple change that makes a huge difference.
Planning Before You Start
Before you start, you must check your wall. You need to make sure there are no pipes or wires inside the wall where the door will go. This is a very important safety step. You also need enough wall space to hide the entire door. If your wall is full of electrical outlets or plumbing, you might need a pro to help you. Always measure your doorway carefully. Having the right pocket door kit is key to your success. Planning well will make the whole process much easier for you.
Tools and Materials You Need
To successfully figure out how to add pocket doors, you need the right gear. Gather these items before you begin your project:
| Category | Necessary Items |
| Tools | Circular saw, drill, level, tape measure, pry bar, hammer. |
| Materials | Pocket door kit, door slab, drywall, screws, nails, wood shims. |
| Safety Gear | Safety goggles, work gloves, and a dust mask. |
Having everything ready saves time. You will not have to stop to go to the store.
Step 1: Removing the Old Door
First, take off your old door and the frame. Use a pry bar to gently pull off the trim around the door. Be careful so you do not damage your walls. Once the trim is gone, you can remove the door hinges and the frame. Keep the area clean and clear. You now have a clean slate to build the new structure. Taking your time here helps ensure the rest of the job goes smoothly for you.
Step 2: Preparing the Wall Opening
Now it is time to open up the wall. You will need to remove the drywall where the door will slide in. Use a saw to cut the studs carefully. You are creating a “pocket” inside the wall for the door. Make sure you leave enough room for the new sliding track. Use your level often. If the wall is not straight, the door will not slide well. Keeping everything perfectly level is a pro secret to success.
Step 3: Installing the Pocket Door Frame
Follow the instructions in your pocket door kit to build the frame. This frame holds the track and the door. Place the header track at the top of the opening. It must be perfectly level, or the door will roll on its own. Secure the frame to your studs using the provided screws. The frame is the heart of the project. If you get this part right, your door will slide like a dream for many years.
Step 4: Finishing the Wall and Drywall
After the frame is set, you can cover it with new drywall. You are essentially hiding the pocket. Use drywall screws to attach the boards to the frame. Make sure the screws do not stick out too far. If they do, they could scratch the door as it slides. Once the drywall is up, you can finish it with tape and joint compound. After it dries, sand it smooth and paint it to match your room.
Step 5: Preparing Your Door Slab
Before you hang the door, you need to prepare it. Attach the rollers and hangers to the top of the door. These parts allow the door to glide along the track. You might also need to cut a small groove at the bottom of the door. This groove fits over a floor guide to keep the door straight. Do not skip this! Without the guide, your door will swing back and forth when you pull it.
Step 6: Hanging and Adjusting the Door
Now, carefully lift the door and hook the rollers onto the track. This is usually easier with a friend to help you. Once it is hanging, test it out. If it is crooked, use the adjustment wrench that came with your kit. You can move the door up or down until it hangs perfectly straight. It should slide silently and smoothly. If you hear any rubbing, check for debris or adjust the rollers slightly.
Common Mistakes to Avoid
Many people run into trouble because they do not check if their wall is square. If the floor or the studs are crooked, the door will not sit right. Always use a long level. Another mistake is ignoring the floor guide. Without it, the door can hit the walls or feel flimsy. Finally, be sure to clean the track after you finish. Bits of dust and drywall can make the door feel “bumpy” when you slide it open or closed.
Frequently Asked Questions
1. Can I put a pocket door in any wall?
No, you need a wall that is wide enough to hold the door, and it must be free of pipes or electrical wires.
2. How do I know if my wall has wires inside?
Use a stud finder with an electrical sensor or carefully inspect for outlets and light switches on that wall.
3. Is it hard to learn how to add pocket doors?
It is a moderate project. If you have basic DIY skills, you can definitely do it with patience and the right tools.
4. How much space do I need for the pocket?
You need enough wall space for the width of the door plus a little extra for the frame and the door jamb.
5. What if my pocket door sticks?
Usually, this means the rollers need adjustment or the track is dirty. Clean the track and use your adjustment wrench to fix the level.
6. Do I need a special door for a pocket system?
You can use many different doors, but ensure it is the right thickness to fit inside the pocket frame kit.
Conclusion
Adding a pocket door is a great way to transform your home. You will gain more space, better flow, and a cleaner look. By following these steps on how to add pocket doors, you can handle this project like a professional. Take your time, measure twice, and enjoy your new, hidden door! If you found this guide helpful, please share it with a friend who loves DIY projects. Do you have a specific room where you want to add a pocket door? Let me know below!